I’ve animated before with Shockwave, Flash, and ActionScript (decades ago), but never took a deep dive into Adobe After Effects (or Adobe Animate). As micro-interactions and motion graphics become more pervasive in applications (and rightfully so!), I decided After Effects was a great place to knock off the rust and redevelop this skill. I created an loop for my site’s 404 page using Bodymovin and Lottie. Here’s how I did it.
Step One
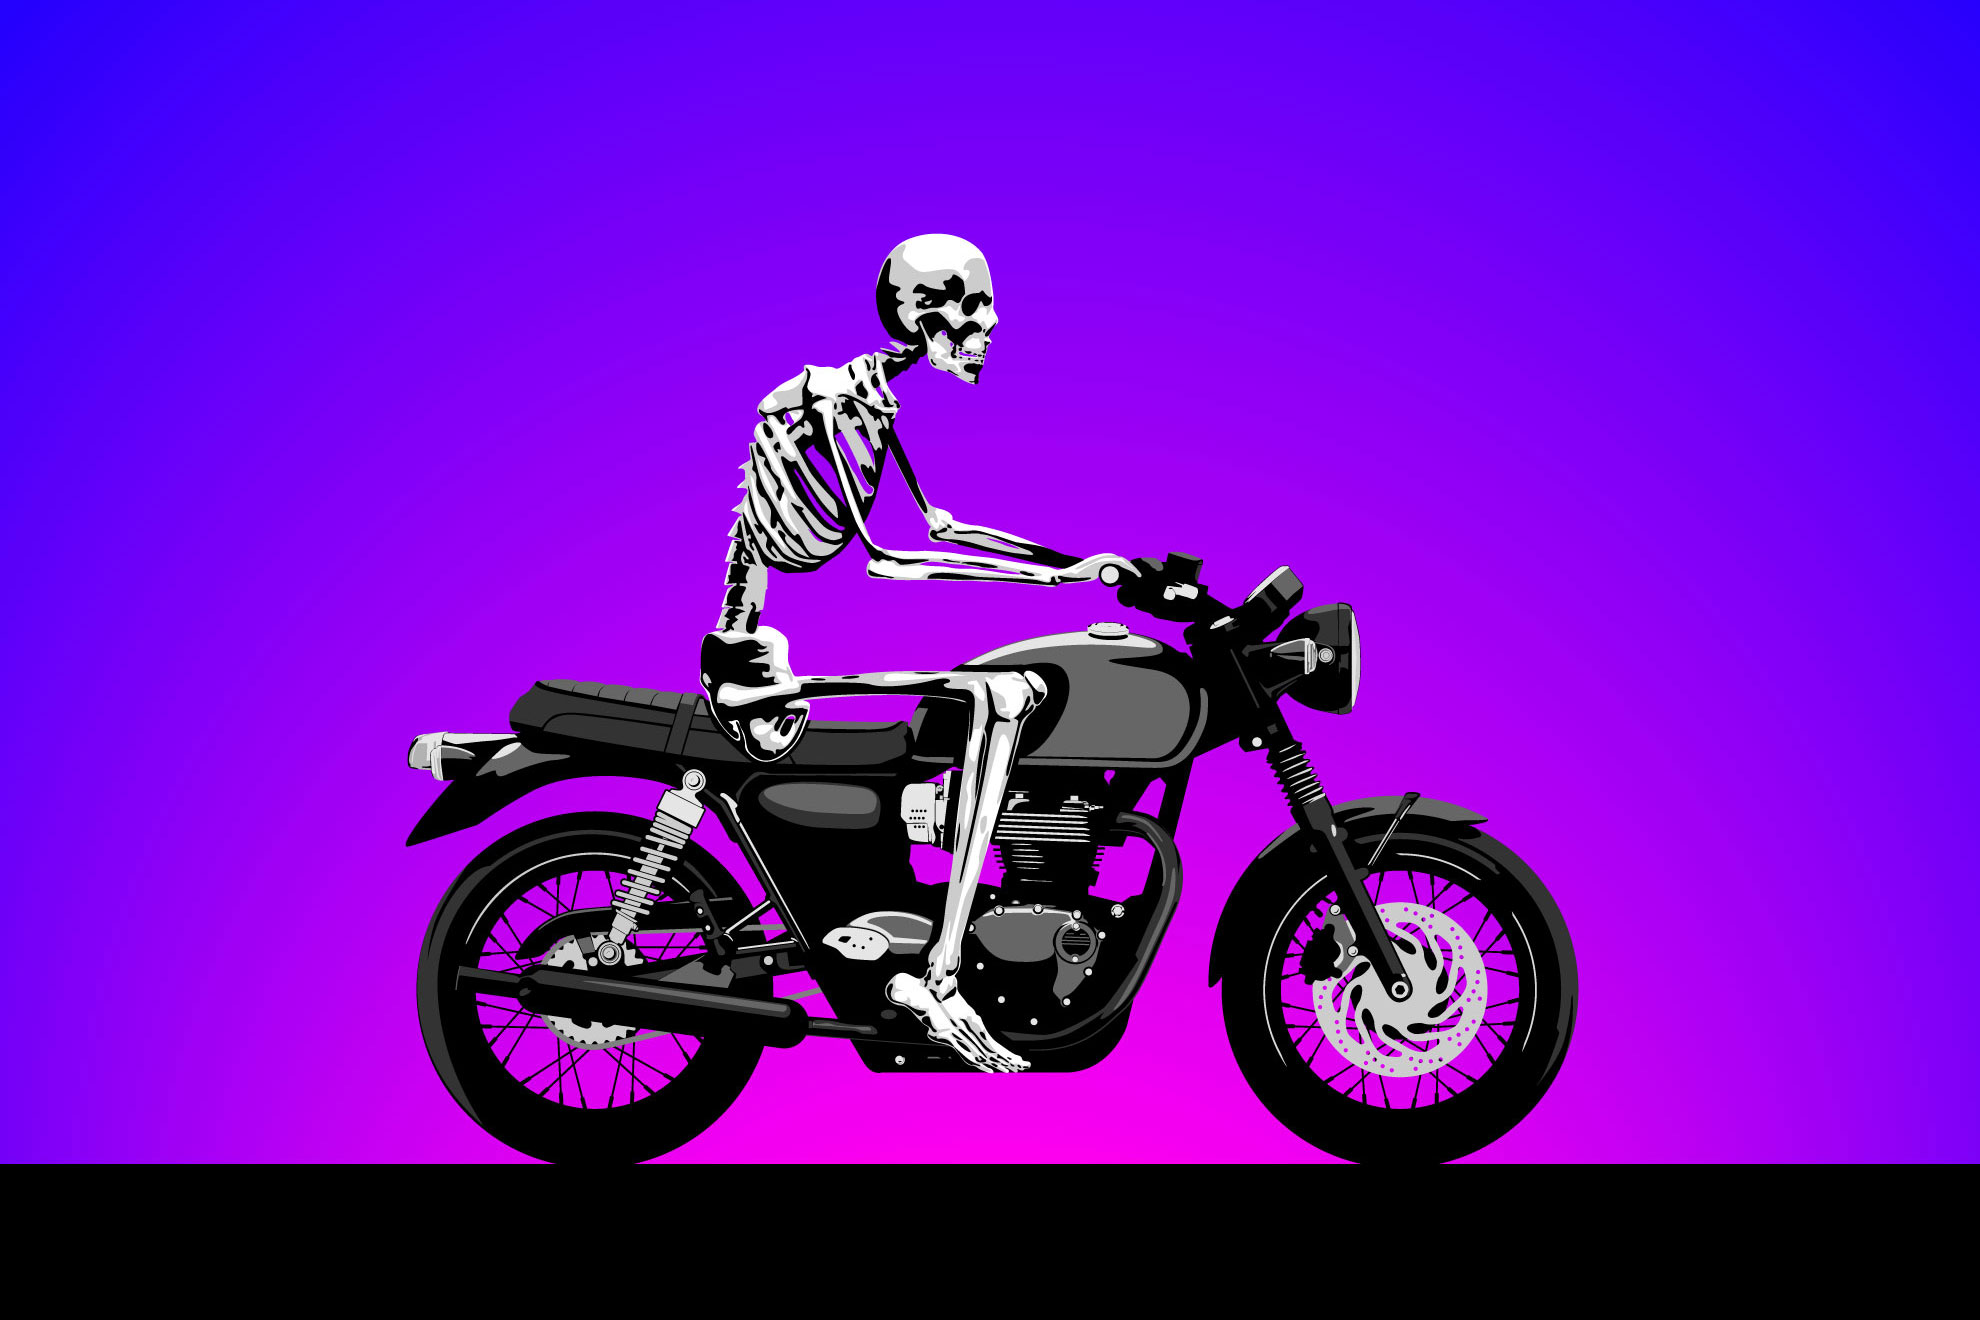
Make the Art
This is the most time-consuming piece of the puzzle. I used Adobe Illustrator to create my illustration, but you can create your art with many vector-based applications (such as Sketch), or source your art online (you lazy bum).
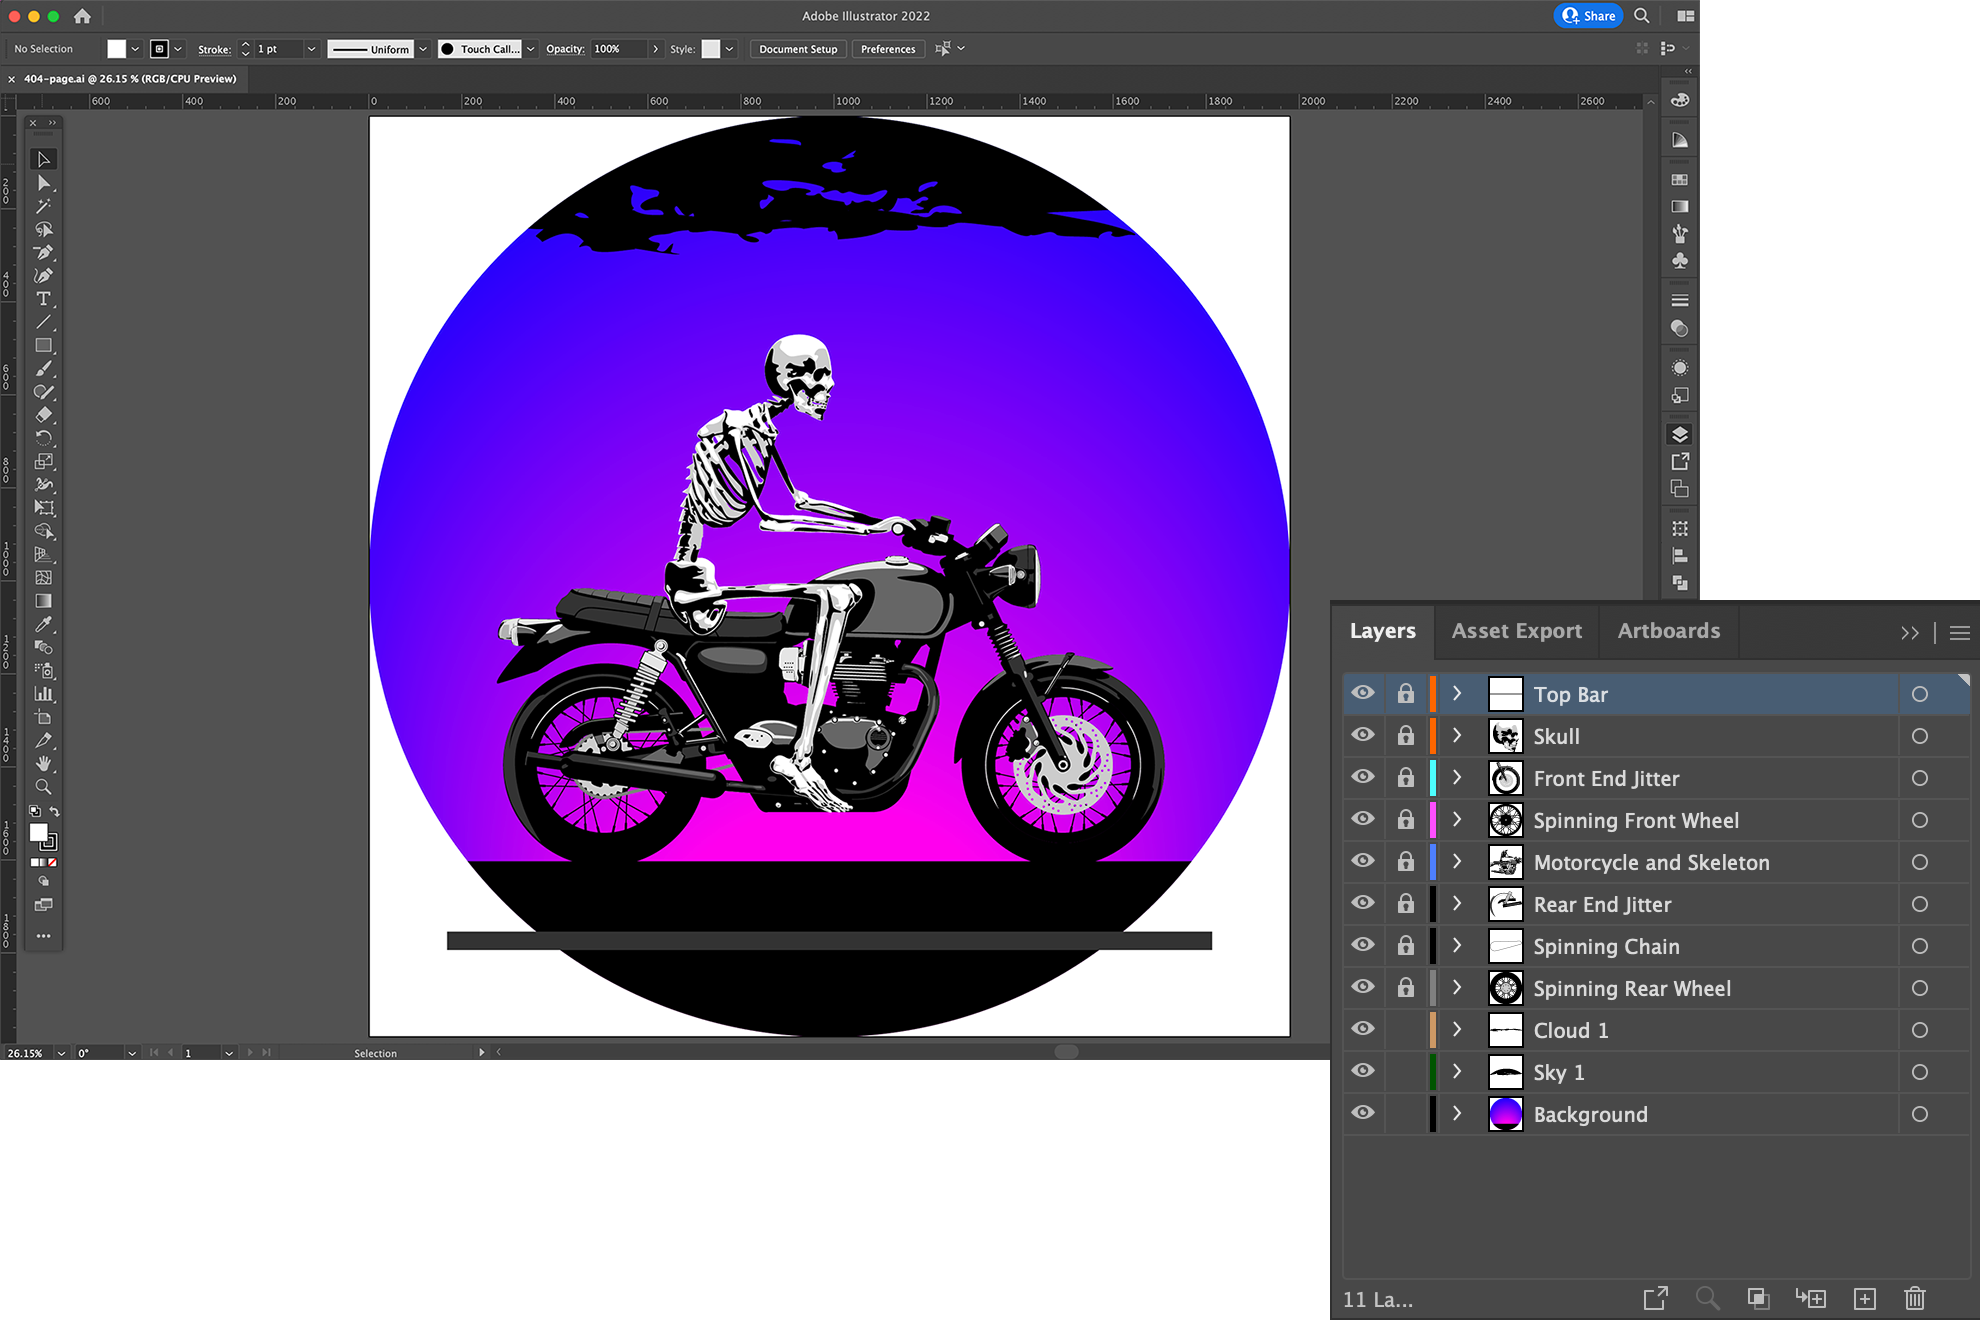
You should work on your concept and determine how the art will animate/move before you import it into After Effects. Make sure to separate and group your art’s elements into layers and name them accordingly. Once your art is complete, import it into After Effects. If you are using Illustrator, make sure to save the art in .ai format.
Step Two
Import the Art into After Effects
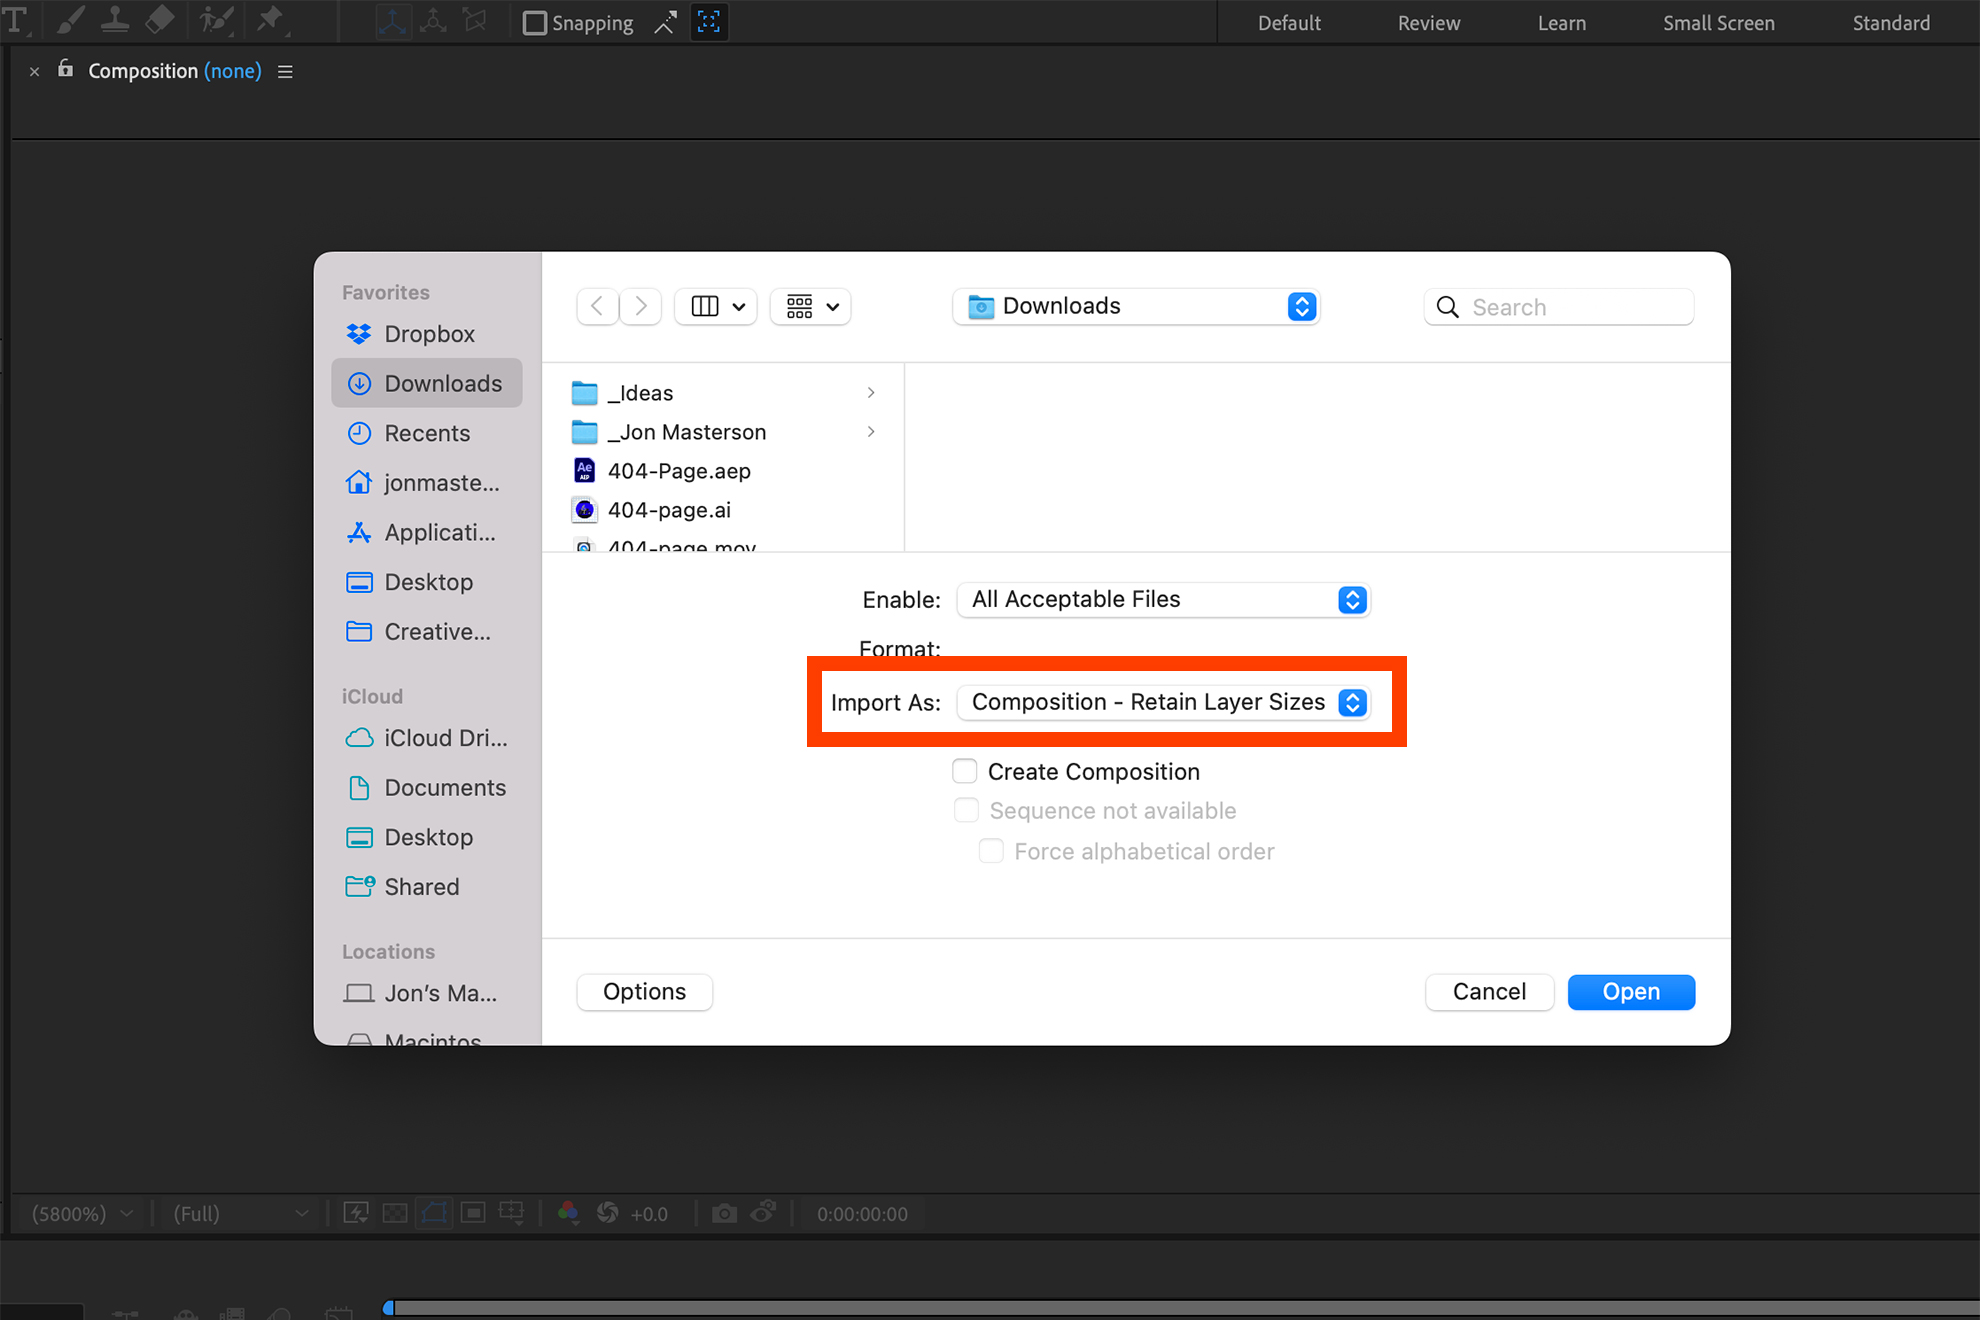
Now that you are ready to animate your art, open After Effects and select File > Import > File. Make sure to select Composition – Retain Layer Sizes under the Import As select dropdown.
Once your file imports, you should see your art and the imported vector layers from Illustrator on the lower and upper left. Select all of the Illustrator layers on the lower left and right click on them. Select Create > Create Shapes from Vector Layer.
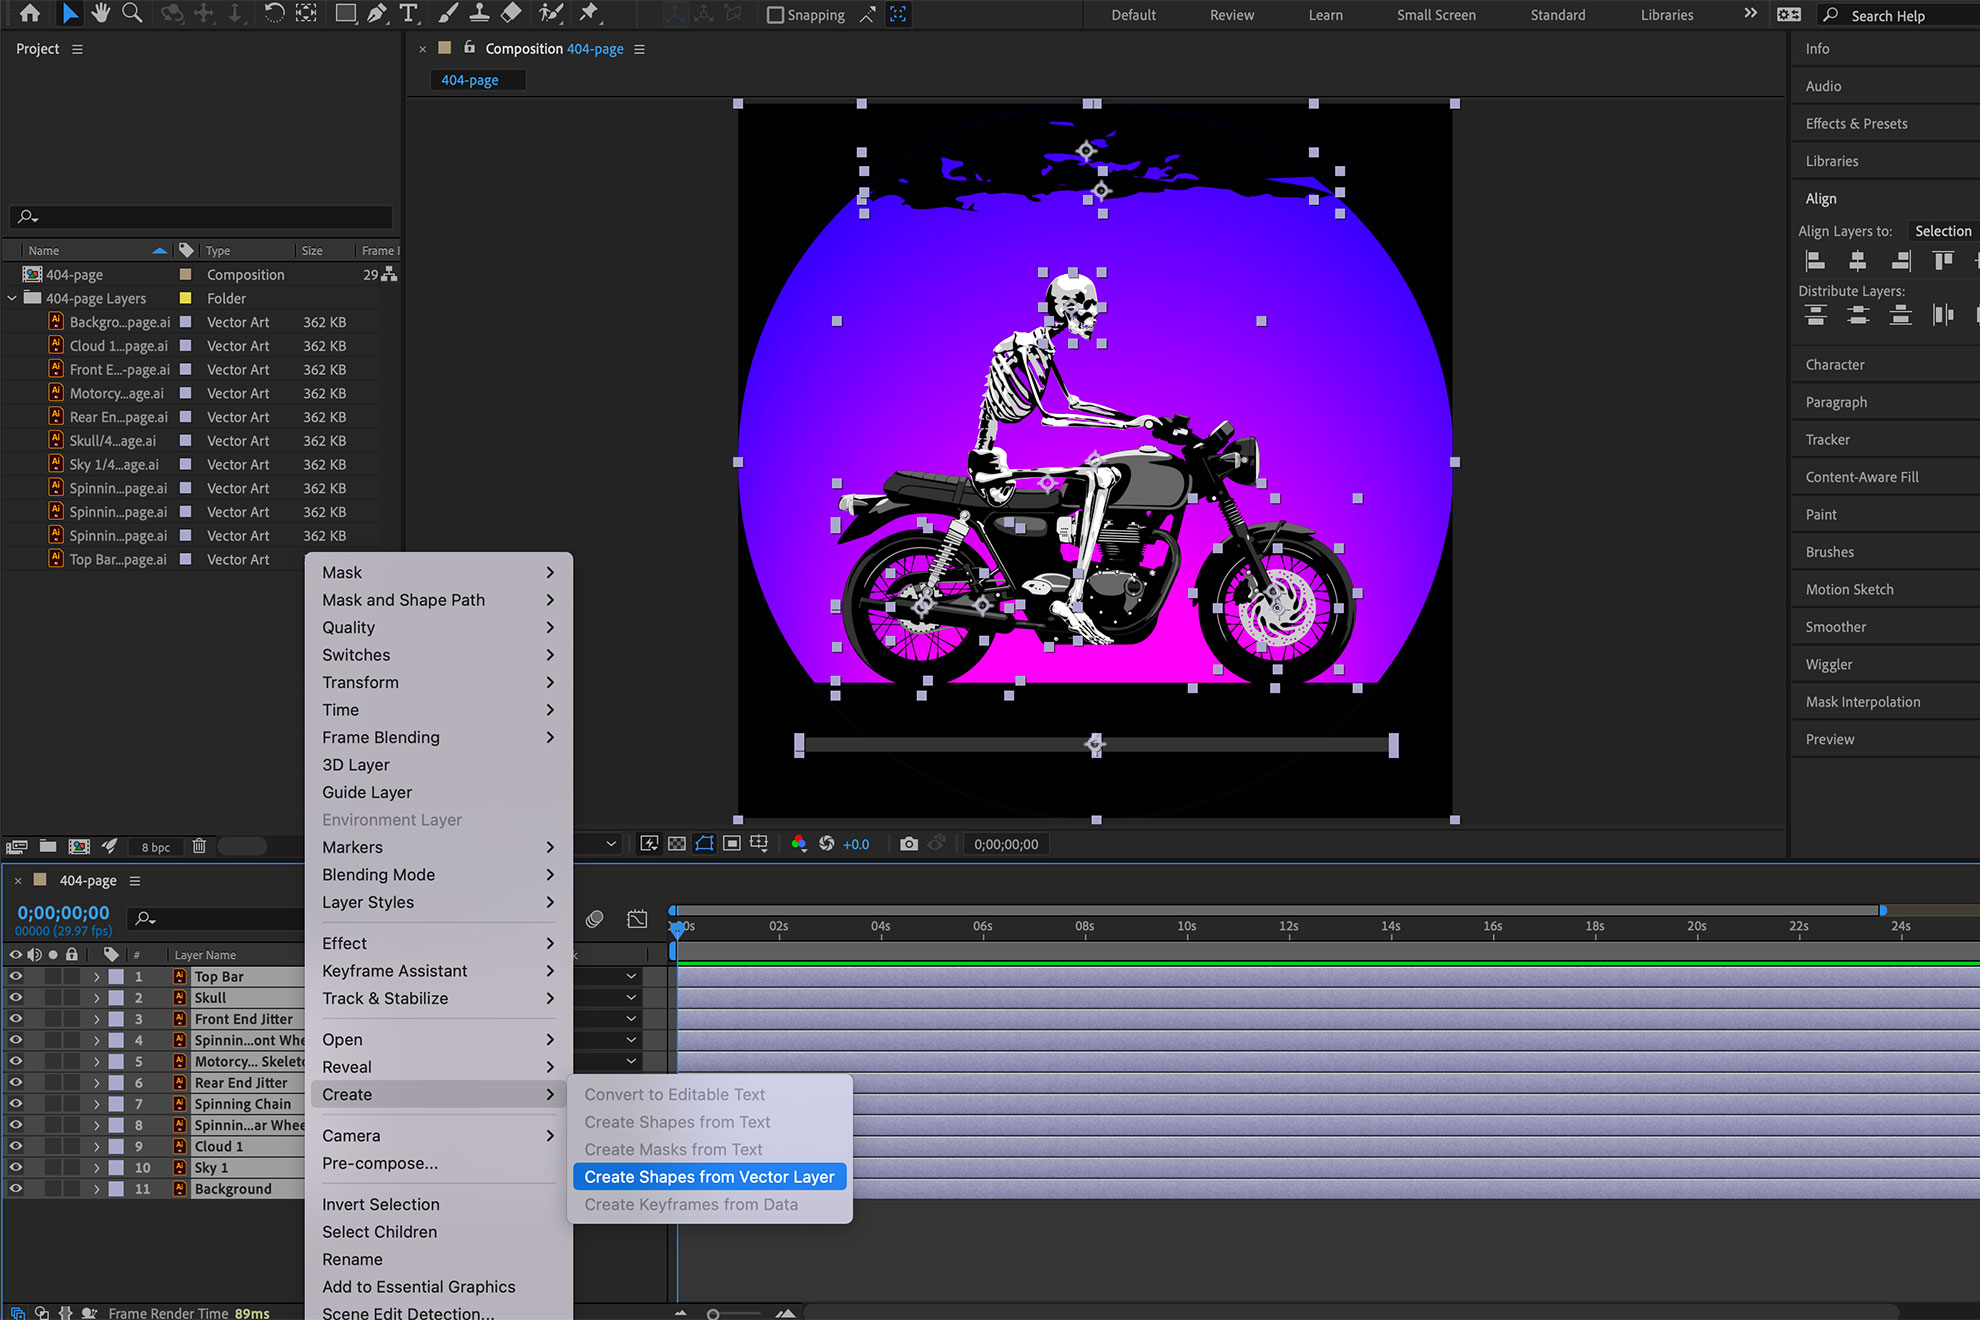
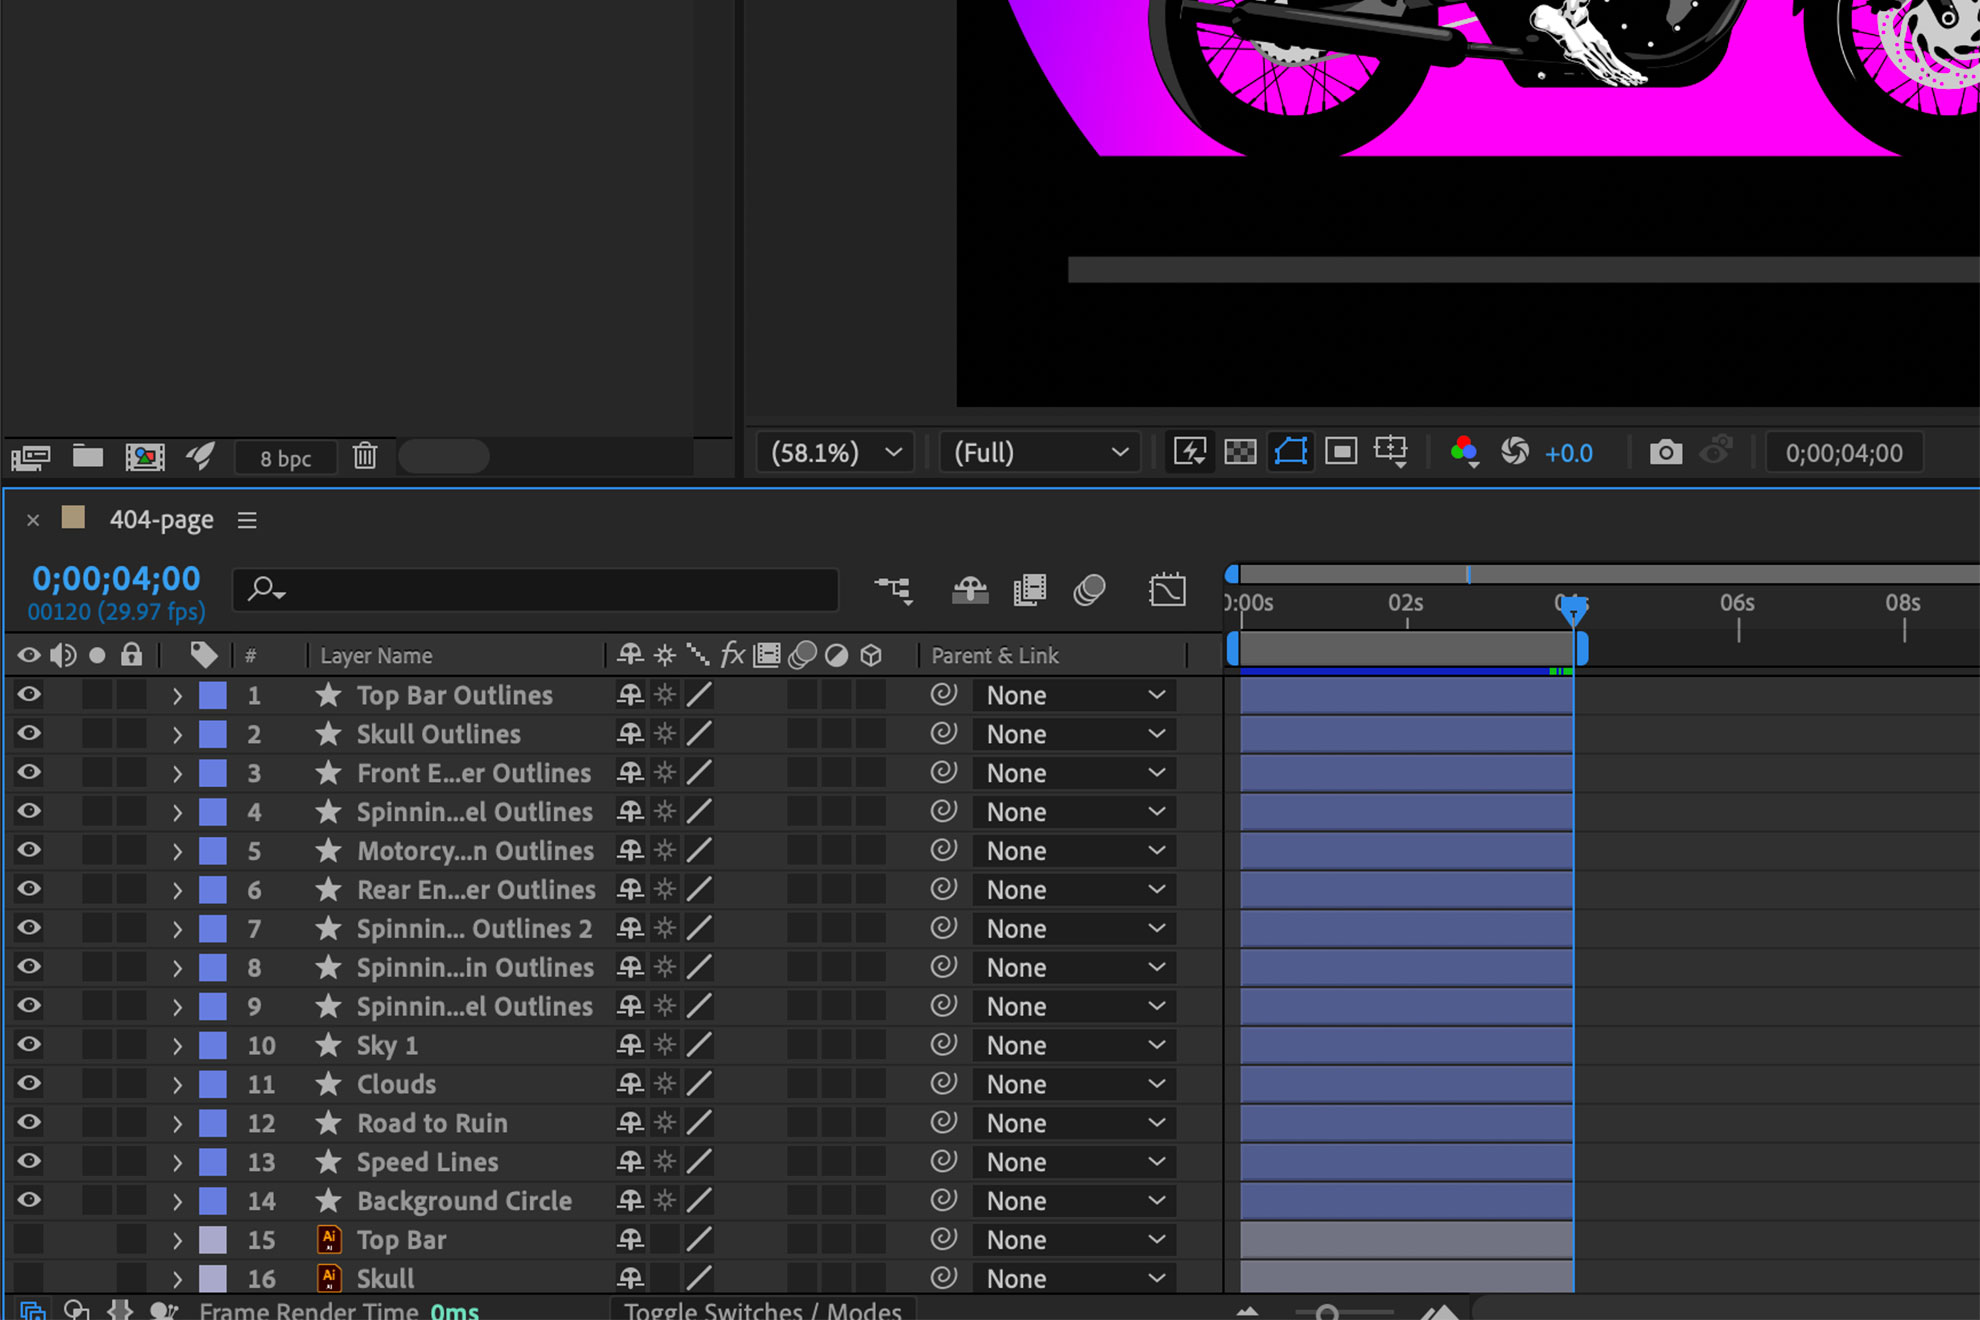
After Effects will hide the imported layers from view (the eye column on the left will be unchecked), and will create shape layers which allow you to manipulate your art in After Effects. These new shape layers will have a star to the left of the layer name. If you click on a layer and expand the dropdown, you will see a Contents dropdown with all of the shape information for the selected layer. Pretty cool!
Step Three
Animate in After Effects & Finish Up
For brevity, I will not get into the specifics of building animations in After Effects. Rather, I will mention some caveats when building Lottie files.
The Caveats of Animating for Lottie
After building animated gradient and rolling cloud effects into my initial animation, I discovered that the effects did not work once I exported and tested it on Lottiefiles.com. Please note the following:
- Avoid using expressions and effects while crafting your animation. Calculating expressions within the browser is memory-intensive and will result in poor playback quality.
- Use simple transformations in your animation (Position, Scale, Rotate, Opacity), and reference Lottie’s Supported Features for more information on its limitations.
- You will need to download and install the Bodymovin plugin for After Effects to export your animation.
Export your animation
Once you have completed building your animation, and installed the Bodymovin plugin for After Effects (above), select Window > Extensions > Bodymovin to export your animation to a .json file.
Choose a composition to render, a destination folder to save your file, and check out additional save options under Settings. Before you click Render, make sure that Allow Scripts to Write Files and Access Network is checked under After Effects > Preferences > Scripting & Expressions.
Finalize & Test
This is optional, but creating an account on Lottiefiles.com will greatly simplify testing and uploading Lottie animations. Once you have an account (free), you can create private animations for testing (useful for client reviews as well!). My 404 page animation is free and is available for download here.